

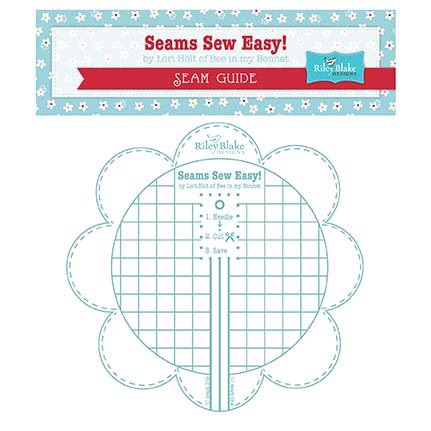
Seams Sew Easy!
I just love me a good quilting tool! Especially one that promises to help me sew a straight line;) and this is where Lori Holt of Bee In My Bonnet’s ‘Seams Sew Easy’ seam guide saves my day.
Now I have a 1/4″ foot to do most of my work for me on the straight lines and good seam allowance bit but I definetly can use something that tells me I don’t have to mark a diagonal line with a pencil on the back of a gazillion blocks!
If you follow Lori’s directions for adhering the guide, you can ditch the time spent tediously marking your blocks. Toss the pencil and get started sewing!

Set your needle down in one corner and line up the opposite corner with the straight line.

Keep the point on the line while stitching and you’ll have perfect blocks. It took a little practice to keep my eye on the line instead of staring at my presser foot.
Forgot your 1/4″ foot? The guide will serve as one. Jus keep the edge of your block lined up with line on the guide. Yes! It’s just that easy.

I do have the slight delima of having a bottom bobbin case. Ugh. But my guide had four adhering stickers on it and when my bobbin needed replacing, I only lifted half of my guide up and it didn’t shift on me.
There are super cute ideas on her blog so go check it out if you’ve never been.
Another fab idea she had was to make mini design boards to take to class with you. And of course they’re adorable! When I demo at the guild, I use a flattened cardboard box covered with a scrap piece of batting that’s pinned to the back of the box. Oh the horror! How could I have been so ‘uncute’ during a demo!?!
Well, after seeing hers, I upgraded my cuteness level and made a new one. All you need is foam board, which can be purchased at any hobby store or Walmart, batting, binding and hot glue. Her directions can be found here.

Beware. They’re addicting. I think I made 6 in one day-4 for friends, one for myself, and one to give out along with a Seam Guide as our guild door prize for November!


Leave a comment
Comments feed for this article