
You are currently browsing the tag archive for the ‘How to make a clock’ tag.

Tag Archive

Isn’t it beautiful outside today? …well it was when I wrote this blog:) Sunny blue skies and mild temps make me wanna spend all my time outside while I can. So today I took to the outdoors for a little crafting. I set up all my supplies on the patio, poured myself some sweet tea and enjoyed the weather while I created the sweetest little clock for my moms sewing room.
Today I’m going to show you how to make that adorable Button Clock that everyone has been pinning on Pinterest. So gather up the supplies, beg your mom to make you some crocheted flowers and lets get crafty!

Supplies needed:
Clock mechanism & battery (which can be found at Michaels for about $7)
8 inch Wooden embroidery hoop
2 fat quarters, clock fabric & lining
Embroidery floss
Buttons
Crocheted flowers
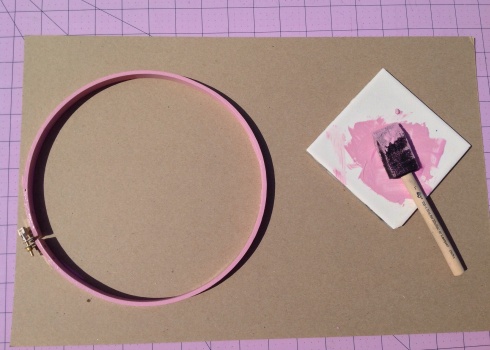
Craft paint & brush, pink of course!
Scissors, marking utensil
Chipboard (found in the scrapbook section)
Start by painting your hoop with the craft paint and allowing it to dry.
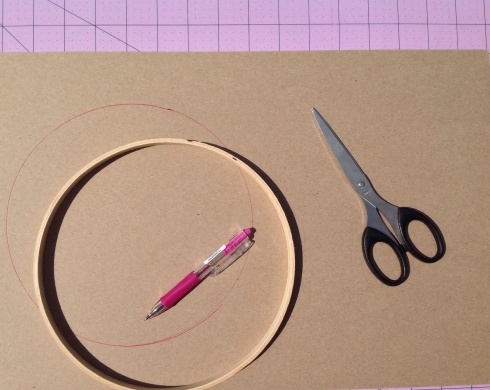
Trace the inner hoop onto your chipboard and cut out with scissors.
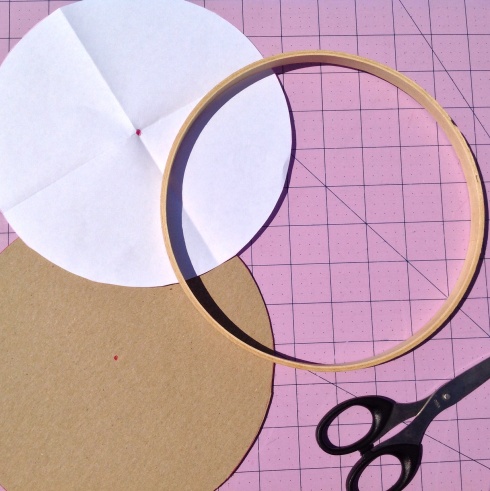
To find the center of your chipboard circle, trace the inner hoop again but this time on a piece of paper. Cut out and fold the paper into quarters. Open and mark the center with a dot. Lay the paper circle on top of the chipboard circle and mark the dot through onto your chipboard. Using an awl or your scissors create a hole where the dot is for the mechanism. Set the chipboard aside. We’ll use it in a bit…
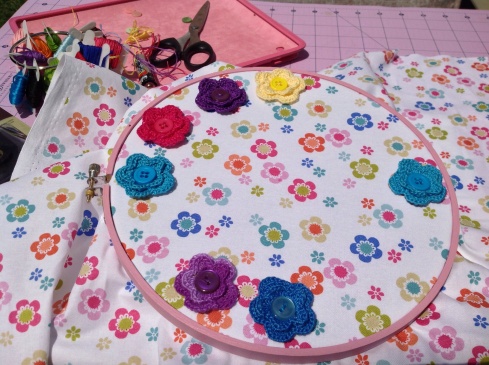
Place your lining fabric behind your clock fabric and tighten securely between the hoops.
Make sure the fabrics are snug and secure by tightening the screw at the top of the outside hoop.
Place your paper circle on top of your hoop and mark the center of your clock fabric with a dot. This will be where your clock mechanism will fit through. Make a small hole with your scissors through both fabrics big enough for the mechanism to fit through.
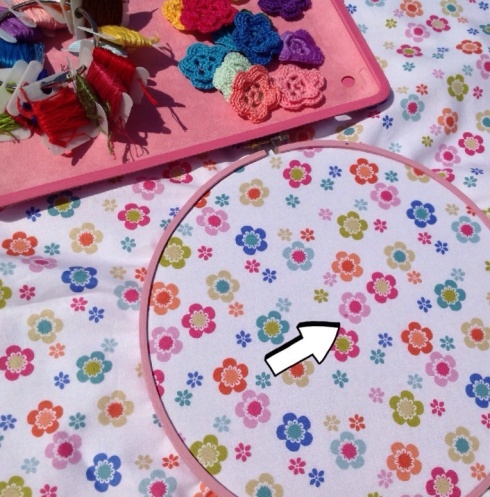
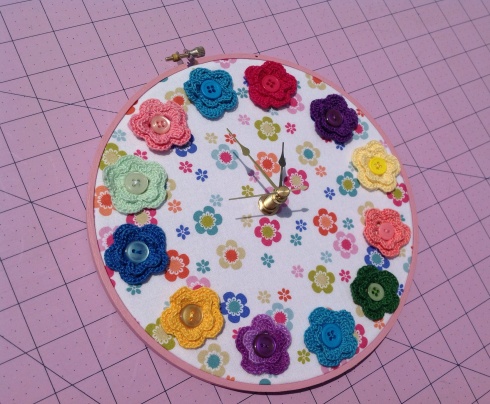
Now the fun part! Attach your flowers and buttons with the embroidery floss. I started with the “12” & “6”. Then the “3” & “9” and eyeballed the remaining numbers.
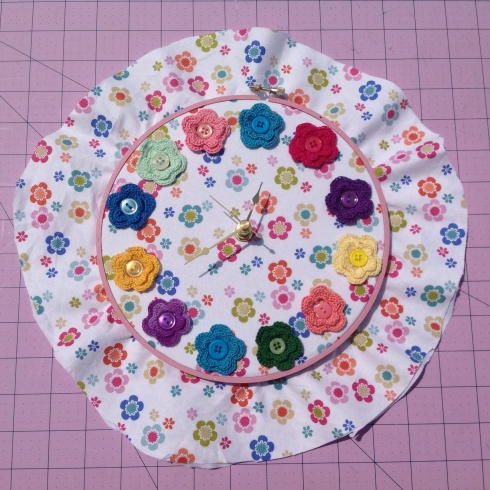
Once you’re finished sewing the buttons on, trim the piece approximately 2″ around the hoop. Add your chipboard circle to the back. This will provide stability for the weight of the clock mechanism.
FYI I added the clock mechanism before this step as you can see in the pic, but I would recommend doing it last. It made for difficult sewing in the next step:(
Using a piece of embroidery floss, create a gathering stitch in the fabrics. Pull and knot the thread in the back to make the edges ‘finished’. This will help the clock lie flat against the wall when hanging. At this point, most hoop art is then covered from behind for a nice finished look, but if we do that, we won’t be able to change out the clock battery now will we?
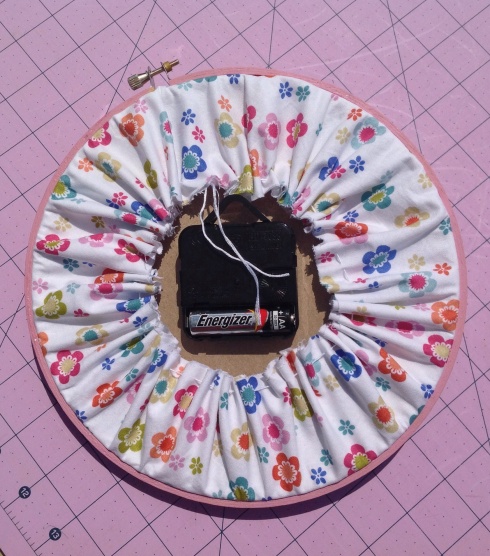
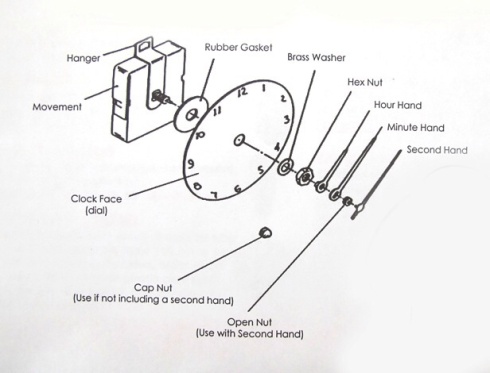
Add the clock mechanism following the instructional diagram provided with the packaging. Tip:Make sure to press down and get a snug fit with the ‘minute’ hand. Otherwise it will spin and loose time. I also removed the rubber washer because it created too much bulk and my clock still keeps great time.
Add the battery, set the time and you’re all finished! Pour yourself another glass of sweet tea while you admire your craftiness!
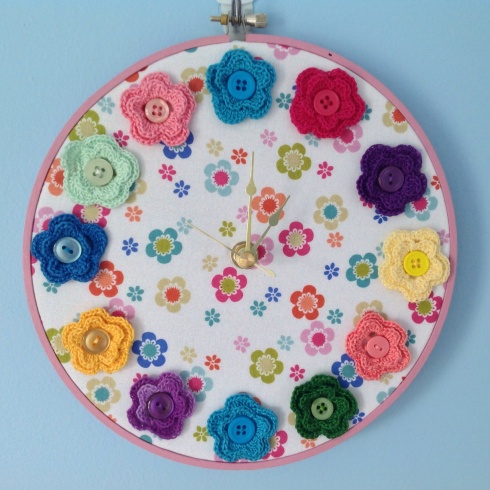
Love this sweet little button clock? Well you’re in luck because I’ve assembled the complete kit and they’re available in the SewMod Etsy Shop. Kit includes the 2 fat quarters, crochet flowers, floss, buttons, chipboard, hoop, & clock mechanism for $25.00. Click on the SewMod link or convo me if you’re interested!


