

Steam-A-Seam Machine Binding
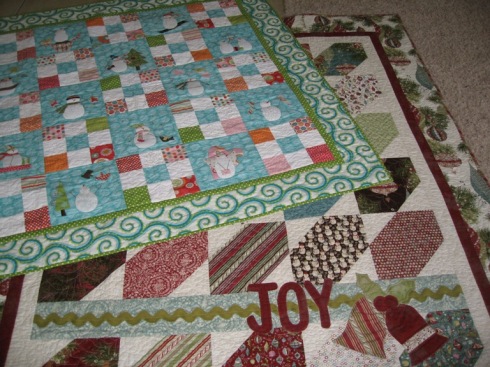
I’ve been trying to get some of my bindings done over the last few days. I don’t like to have something unfinished. It haunts me:) I had a couple of the Christmas quilts left. One of them was the Fruitcake quilt with blue marker on it. As much as I wanted to throw it away and forget it ever happened, I just couldn’t do it.
Now, I’m a firm believer in hand stitching your binding to the back and take great pride in how my stitches are buried. My mom taught me well! The first quilt I made, I whip stitched and quickly learned that was not the “proper” way to hand stitch binding down.
No way am I going to spend hours hand stitching this quilt. In some instances, I can accept where it’s appropriate to machine stitch the bindings. A seasonal wall hanging, a table runner, place mats, even a kids quilt that will be repeatedly washed, or…….. a ruined quilt.
Vicki, over at Accio Fabric, gave the SewMod girls a tutorial on quick binding with Steam-a-Seam. I had never done this before and found it kinda fun. It took the pressure off hand binding all those extra items. I thought I’d share it with you.
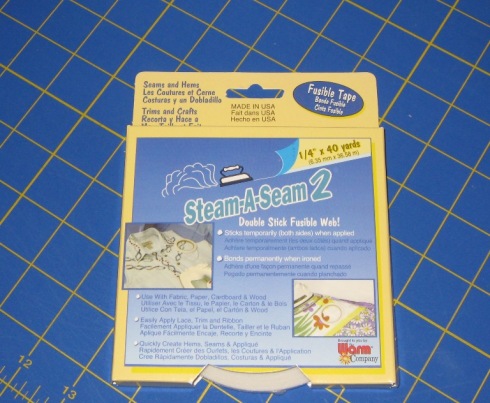
It’s Steam-a-Seam 1/4 ” double stick fusible web, available at Joann’s.
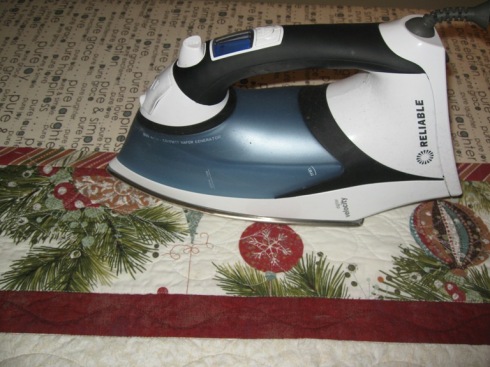
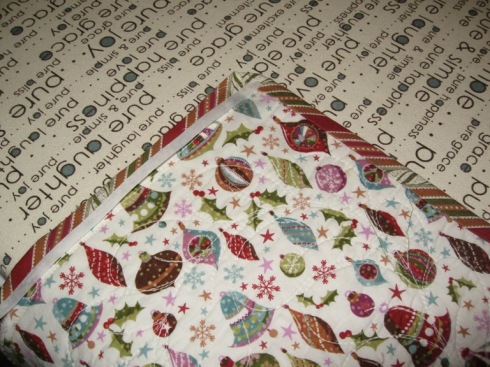
Attach your binding the way you normally do. **My bindings are cut at 2-1/8″ to 2-1/4″. This is an even distribution on binding on the front and back and allows you to just catch the back binding while using this machine binding technique.** After the binding is sewn down, iron your binding flat. This helps you pull it around to the other side. BTW, this is the best iron ever! I didn’t think anything could ever replace my Maytag cordless iron but this Reliable iron is sooo awesome!
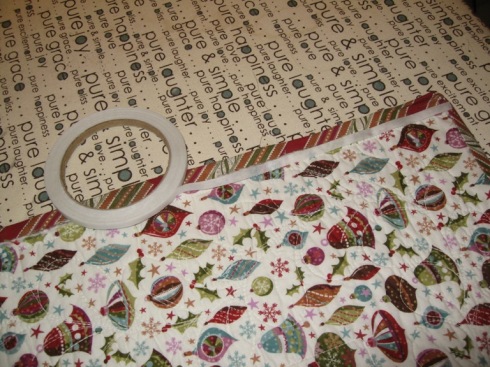
Turn the quilt to the wrong side. Cut a strip of the Steam-a-Seam the length of one side of your quilt and begin pressing it along the 1/4″ seam that you created while sewing your binding on. Make sure it’s sticky web side down and paper side up.
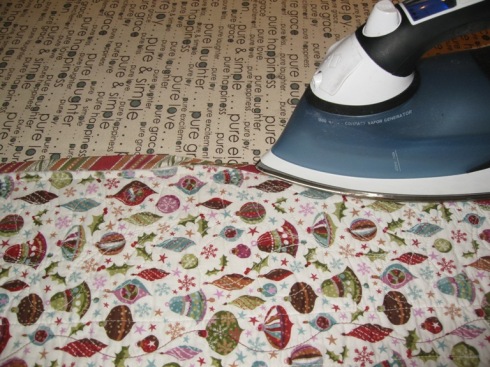
Working one side at a time, peel the paper side off the strip and press your binding around to the back of the quilt. Make sure the binding is overlapping your 1/4″ binding seam.
Now do the next side, working your way around the entire quilt. Tip: Don’t go all the way to edge of the binding when attaching this next strip like you did the 1st strip because your mitered binding wont cover the Steam a Seam and you will be left with a sticky residue at the corner. Go in just enough to “catch” the corner.
Using an open toed foot and matching thread, stitch into the “ditch” on the front side of your quilt. Go slowly grasshopper…it does require concentration to stay in that ditch.

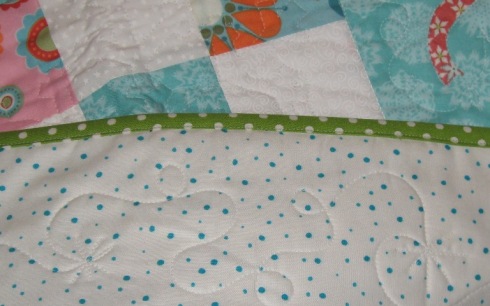
You will always catch the backing with this method. Here’s a view of the Snowbound binding I attached using this method.
And your done in a fraction of the time it took to hand stitch!
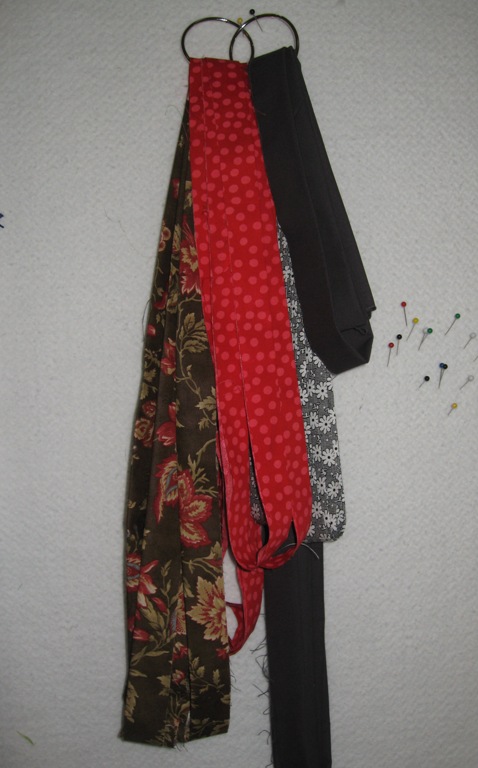
Another tip to speedy binding…always cut your binding right after you finish your quilt top. That way there’s no procrastination when it’s time to sew it on. I keep all my binding hanging in my sewing room. I told my mom-in-law that if something should ever happen to me, she could just count the binding hanging on the clasp and she would know how many quilt tops I have in the closet or at the quilter:)


8 comments
Comments feed for this article
May 11, 2011 at 6:40 am
mimi'sdarlins
Great post, Lorrie! I definitely want to try that fusible binding, as you said, for wall quilts or kids quilts, it’s perfect. BTW, I also have learned to cut my binding strips and store them with the quilt top so they’re ready to go…I always hated to go back to finish a quilt and realize I hadn’t cut the binding yet! Sometimes I didn’t even know what fabric I’d planned to bind it with!
May 11, 2011 at 7:47 am
Jeanne
This is a great post Lorrie! thanks for the tutorial!
May 11, 2011 at 8:31 am
Kelly P
Great tutorial and pictures! I wanted to make David’s dad a quilt for Father’s day, but didn’t think I’d have time. I’m going to try to get it done using this binding method! Thanks.
May 11, 2011 at 10:19 pm
Karen V
Very informative, thanks!
I’m intrigued. I think I just decided what to buy with this weeks JoAnn coupon :)
May 12, 2011 at 8:48 am
A place for everything, and everything in its place? | Dreamz Happen Quiltz
[…] Quick Binding Method (safeassets.org) […]
May 18, 2011 at 6:25 am
I’m still running behind but I’m catching up! | Dreamz Happen Quiltz
[…] Quick Binding Method (safeassets.org) […]
December 12, 2011 at 8:38 am
dee
I love it. I’m going to give it a try on my next proect. Thanks Lorrie
June 21, 2013 at 1:56 pm
warmabby
Did you love using Steam-a-Seam 2? The Warm Company will be releasing the New & Improved Steam-a-Seam product line – same great product with new release paper. Like the Warm Company on Facebook and complete the entry form to win a 12″, 18″ or 24″ by 25 yd bolt of New Lite Steam-A-Seam 2! It’s the Steam-A-Seam Give-A-Way contest!
Warm Company FB:
https://www.facebook.com/pages/The-Warm-Company/261044530611534
For more information regarding the new Steam-A-Seam release paper and its benefits, please visit :
Click to access New-SAS-info.pdf