
You are currently browsing the tag archive for the ‘which witch’s boot’ tag.

Tag Archive
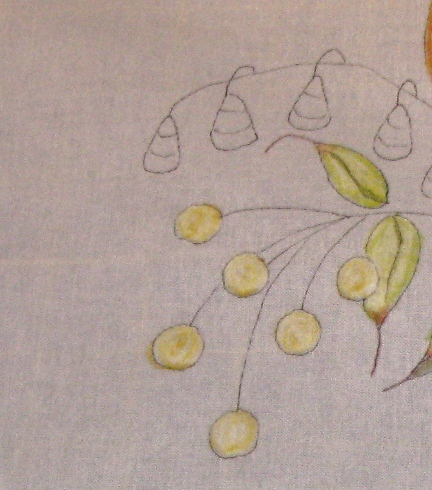
I didn’t get to spend too much time with my Jacks this weekend even though I’m really enjoying this embroidery. It has a lot of dimension. I tried to get you a good pic of it so you could see all the french knots and satin stitching.


I can’t wait to start those circle flowers! Why didn’t I get around to those, you ask? Well, I was super busy all weekend working on a new project for our show coming up this weekend, which involved making 80 of these…

More on that later…
And on other subjects, guess what time it is. Girl Scout Cookie time!

That box of Savannah Smiles are yummy. **Please, no comments on how my diet is going.** I had to buy them! Those little girls were in front of the grocery store in freezin’ their little cookies off! I couldn’t say no.
Do you yearn to pull out those Crayons and relive your grade school days? Well we can! Tinted embroidery is a great way to spruce up those open spaces in a project and add a little color without all the work of filling in spaces with filler stitches like satin stitching.
So go grab your supplies and let’s get started!
Crayons
Embroidery pattern
Pencil or brown .01 Pigma Pen
Pins
Iron
White paper towels
Floss
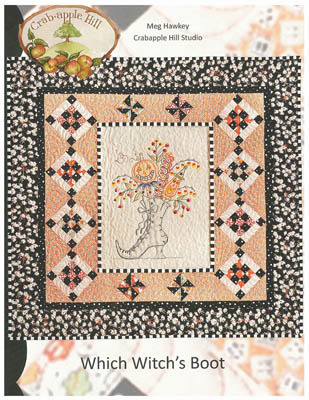
I’m working on Crabapple Hill’s Which Witch’s Boot.
1) Pin your pattern to your fabric.
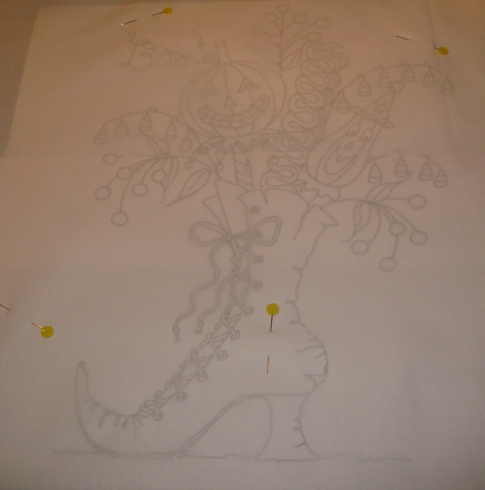
2) Using a light box, transfer your pattern using a #2 pencil or Pigma pen. Remove pins and pattern.

3) Using a white Crayon, color heavily the areas that will be tinted with color. If your fabric is pulling, try taping your fabric down.

4) Tint the areas with the Crayons. Use light strokes. Remember we are tinting, not coloring. I’ve made this mistake a couple of times. I have a heavy hand. If you’re not following pattern instructions and choosing your own colors, always start tinting with lighter colors first. For example, my leaves are tinted green. Light green first, shaded with a darker green and tinted at the tips with a bit of red.

**tip** Check your work carefully. If you find flakes of the Crayon on the fabric, blow them off. You don’t want them to stick to the fabric. Another of my mistakes. I ended up with bits of orange on my gray boot. According to Crabapple Hill, if you need to remove any coloring mistakes, do so before you iron. Heat setting it makes it permanent! Remove mistakes by mixing a paste of baking soda and water. Dip a Q-Tip in the paste and rub the area until the color disappears. Rinse that area with cool water and air dry. Re-color and proceed to step 4.
4) Place your tinted embroidery face up on ironing surface. Cover your tinted areas with white paper towels and press well with a hot iron.

Check the paper towels for crayon residue or bleeding. If there is some, then repeat step 4 with new paper towels until there is no sign of Crayon on the towels.
Now it’s time to start stitching!


