

Easy Dresden Demo
Paige and I spent last Thursday evening vending at a local guild in Algonquin, IL. We did a little intro about what our shop was about, demonstrated how to use the Easy Dresden tool by Darlene Zimmerman, and gave a trunk show with all of the quilts we have made in the past year. We had a great time and we’d like to thank all of the ladies who welcomed us into their guild!
Since we are so Dresden happy, a demo on the Easy Dresden tool was just that, easy! I’d like to also share with you the steps to make one and also provide a refresher just in case some of the ladies from the meeting visit the blog.
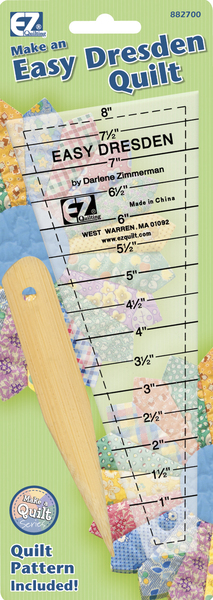
This is the Easy Dresden, which can be found at your local quilt shop.
First, you’re going to want to determine what size you want your Dresden to be and cut a strip of fabric to that width. For example, if you’d like a 5″ Dresden, cut a 5″ wide strip of fabric. The Dresden I’m working with today is 8″, so I cut an 8 inch strip of fabric.
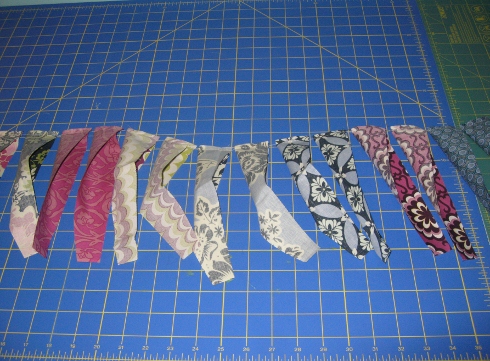
Start cutting your wedges from the strip by alternating the tool. This will cut down on any waste from your fabric.

Take your cut wedge and fold it lengthwise, right sides together and sew using a 1/4″ seam allowance, begin sewing at the widest end.
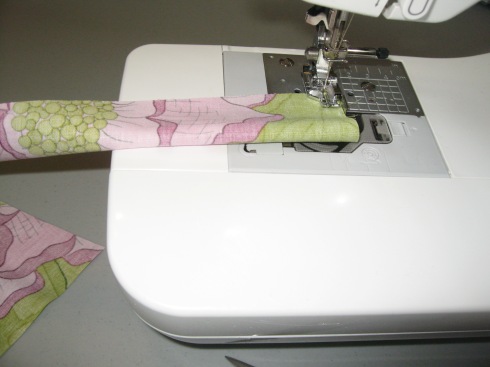
Chain piece all your wedges.
Clip your corner, being careful not to cut too close to your seam.

Turn the wedge right side out. Use the turning tool provided to turn out your point. Don’t push too hard. You don’t want to push your stitches through.

Press the wedge flat, making sure the seam is pressed open. This helps remove some of the bulk.

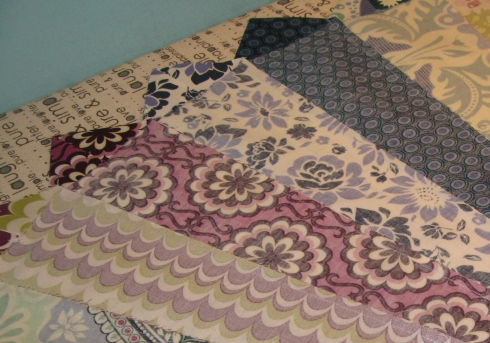
Sew the wedges, right sides together to begin making your plate. Always start from the widest part and work your way down. A tip to hide all of the loose threads, is to start 1/4″ down, reverse your way back up to the beginning, and continue to sew down the side of the wedge.

Press in one direction, careful not to stretch your plate.
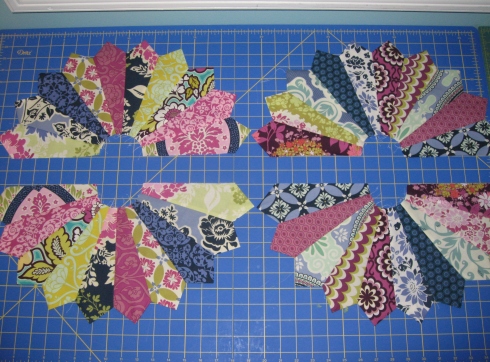
I find it best to sew the Dresden together in sections. For example, our Dresden has 20 wedges. I sew 10 each together to make 2 halves and then sew the 2 halves together to make a Dresden.
Here are some examples of Dresdens that we have made using this Easy Dresden tool and this technique. This is our new Christmas Dresden Table Runner made from our SewMod pattern called North Garden. It’s made with 8″ wedges. This kit is now available in the Etsy shop. Just in time to get started on some of those Christmas Projects. We used the new Tinsel line by Maude Asbury for Blend fabrics and the kit comes with the free pattern!

The corner Dresdens on the Cannon Beach pattern…

I used a 2-1/2″ wide blade for the “grass” wedges on my Wonky Wildflowers wall hanging.

And instead of using the template provided for the this quilt, I made it easier by using the Easy Dresden tool. Neither the Wonky Wildflowers or this quilt required a pointed blade. The “grass” was sewn into the seam and the “tree” blades edges were turned under using hand applique.

And last, Paige’s sewing machine cover…

I hope our Demo has inspired you to make a Dresden. It really is that easy!


2 comments
Comments feed for this article
July 3, 2012 at 12:00 pm
PaigeAlaine
I really do luv the Christmas runner – the Argyle fabric makes the Dresdens look like they are spinning! Dresdens are definitely fun to make -I don’t think I’m anywhere near done making them! :)
July 9, 2012 at 5:24 am
Cannon Beach PDF Pattern & Kits Now Available… «
[…] outer half Dresdens were made using the Easy Dresden tool by Darlene Zimmerman. See Lorrie’s Easy Dresden Demo on how to use. These tools are so versatile and I highly recommend getting them so you can create […]