
You are currently browsing the tag archive for the ‘Hexies’ tag.

Tag Archive
The great things about hexagons are that they only require scraps and you can work on them anywhere…at the orthodontist visit, after school pick up, or road trips! The Molecular Hexies quilt block is the final block for the CLMQG BOM. I hope to complete my remaining 4 blocks (8,9,10,&11) next week so that I can begin putting the quilt together soon! This is a 12.5 inch(12″ finished) hexagon block based on the craftsy.com BOM and tutorial by echinopsaster.blogspot.com.  Supplies: 12.5″ background fabric Scraps of fabric for hexies Paper template Scissors Needle & thread *read all directions before starting your project… For the original CLMQG block, I used a 1-1/4″ hexie template and arranged them in rows of 5 & 4. If you’re working on the CLMQG BOM, but are unable to do handwork, I’ve provided the link to Jacquie Gering’s blog tutorial on Sewing Hexagons By Machine Without Marking for an alternative to English Paper Piecing. For the block variation, I used a variety of the hexagon templates to create a Molecular Hexie block and laid them out in a fun pattern. You get to choose which design you’d like to add to your quilt. Be creative! Print your templates and cut out the hexagons. Template downloads 3/4″ Hexie 1″ Hexie 1-1/4″ Hexie 1-1/2″ Hexie 2″ Hexie After you’ve cut the paper templates out, gather your fabrics and cut your scrap at least a 1/4″ around on all sides of the template for easy turning. Use a small pin to secure the paper to the fabric.
  Either finger press, or if it makes you feel more comfortable until you get the hang of it, iron down all the sides. Once you’ve mastered the hexies you’ll no longer need to iron.
  Thread your needle and make a small knot. Use any thread to baste your hexagons. I like to use up some of my older, less expensive spools here. Starting on one of the points, work your way in and out around the hexagon and through the paper.
  To attach the hexagons, layer right sides together and whip stitch, grabbing just enough fabric to keep them together, but not going through the paper this time. For this step I use a coordinating YLI silk thread which can be found at your LQS. It glides right though the fabrics without knotting, is strong, & buries your stitches making them barely noticeable! I use YLI silks for all of my hexies and appliqué projects.
  Tiny whip stitches make all the difference to make sure your stitching is barely visible from the front. Practice, practice:) Once your hexagons are attached to one another, clip the basting threads and release the paper. Starch and press back into shape. But don’t toss those papers out yet! You can reuse them for other hexie projects.
  Decide on the hexie placement of your block and pin into place on the background fabric.
  Appliqué your hexies with a top stitch close to the edge onto your background fabric.
  My Molecular Hexie was made using a variety of Kaffe and other modern prints and machine appliquéd onto a hand-dyed background fabric. I enjoyed this block and I hope you do too!
 Now wasn’t that easy? The hardest part was just deciding which Hexie block to make!
It’s the season girls…Pj ‘s, hot chocolate, lots of TV and hand work. Yes, it’s almost winter and all I wanna do is bunker down, finish projects, and start new ones that I can finally finish this time next year.
Speaking of that…our annual downtime project last year is finally finished! It only took me a year to find the time..just in time to start a new one that is.
Let’s recap how these projects go…
*November/December is our slow time of year which allows us to work on projects for fun.
*We usually take a pattern or idea and put our own spin on it to make it fun & spark our creativity.
*2011’s project was the trees from material obsession.
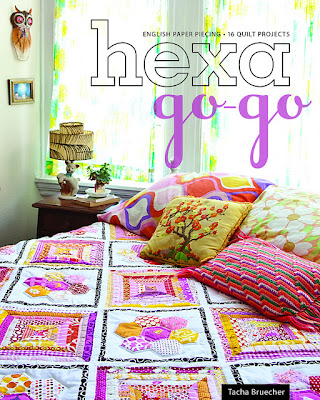
*2012’s project was Tree House Hideaway from the book Hexa Go-Go. A must have for the hexie lover by the way!
The original tree house is rated ‘G’.

But my story is definitely for the more mature. My tree house is for adults only y’all.
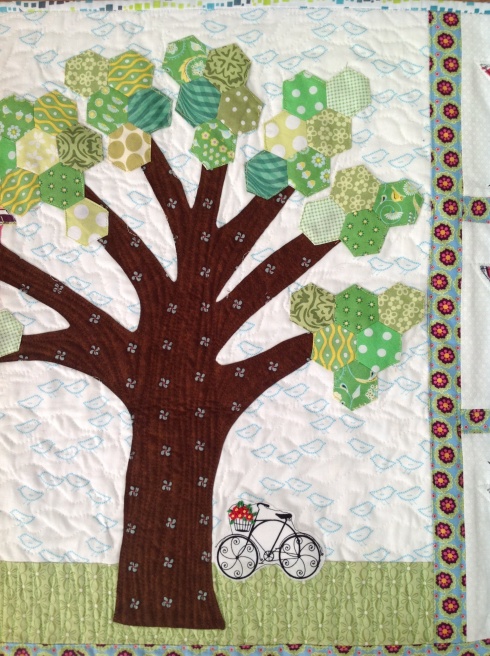
Meet Samantha.

Her favorite mode of transportation is a bicycle and her basket is always full of pretty flowers.
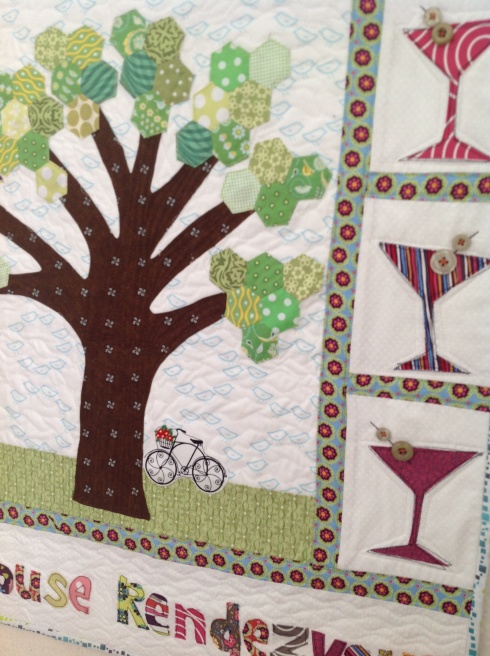
She’s just up in the tree house ensuring a great time with her babe by adding a little something special to the punch…vodka:)..martinis are on the menu up in here.
Her Babe has arrived early for their rendezvous. She better hurry…
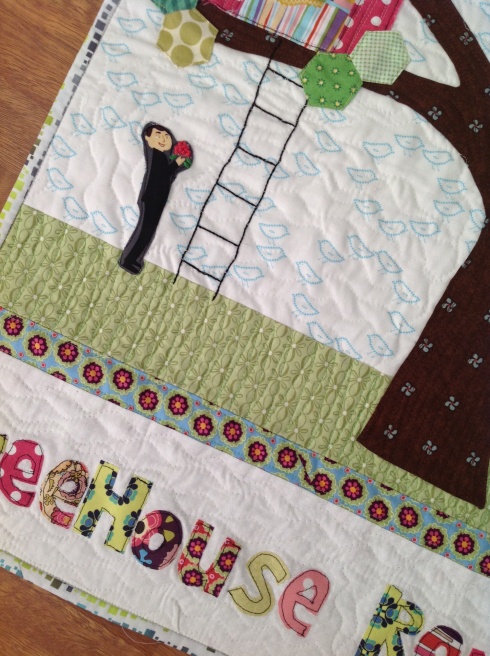
So sweet..he’s brought her flowers! Uh..he better have not picked those from her basket…hmmm.
Come on up Babe! Let me fix you a drink…It’s time for our Tree House Rendezvous!

So you see, just by taking an existing pattern, thinking out of the box, you can create your own story. Have fun with your projects. Mix it up! Not with vodka, but with different medias. Add embroidery, crochet, or buttons.
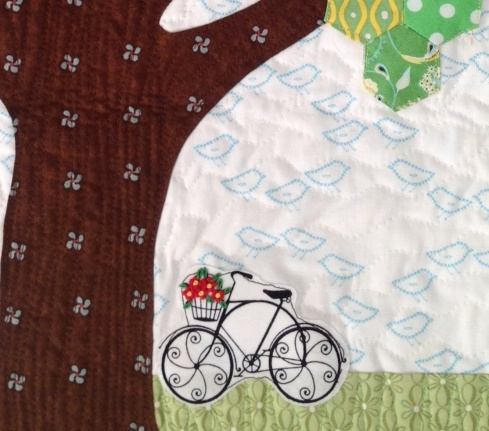
For example,..I added embroidered lazy daisies & french knots on the basket and his bouquet for more dimension. There are no rules when you allow yourself to make it your own.
Now I need a new story and I promise NOT to take an entire to finish this one…It’s time to create!
Back from Thanksgiving and now the countdown is on for Christmas. I hope everyone had a great holiday. I spent time in OKC catching up with friends and family & now it’s time to get back to work and wrap up the year.
Paige and I spent some time this weekend picking out new fabric lines and hatching some ideas for the new year. Lots of Art Gallery prints and restocking the ever popular Oval Elements was on our list.
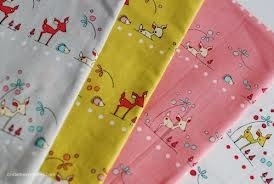
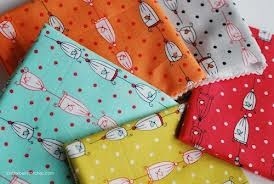
We ordered this cute line from Lecien Fabrics, designed by Natalie Lymer from Cinderberries due out in February.
Here’s a few shots I pulled from the Cinderberries blog. Head over and check her out if you haven’t already. She’s sure to be on your favorites list after you’ve seen all her cuteness!

Paige and I had so much fun last December working on our trees from the Material Obsession book called The Seasons found here that we decided to make it an annual thing. Its nice to do something just for fun that’s kinda un-work related. So now that the years work is winding down and orders are filled, were tackling our next fun project.
I don’t want to give too much away before our fun reveal but I’ll give you a sneak peek:)
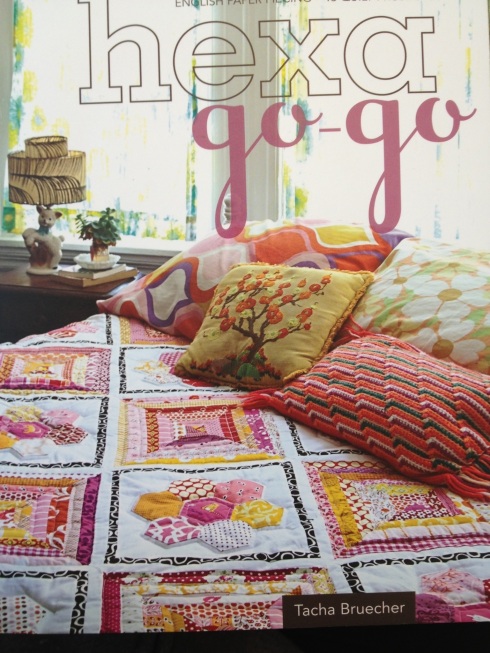
We’re making something from this fabulous new book called Hexa go-go.
Yes my Hexie love is contagious! What did I work on while on vacation…hexagons! I even had my mom cranking them out on Thanksgiving. And now it’s Paige’s turn to become a hexie addict:)
These are some of the 3/4″ hexies we’ve been working on for this project.

My inspiration word is rendezvous and these are my fabric choices.
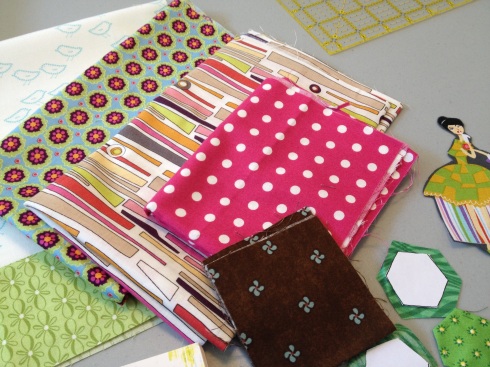
And that’s the only peek you get so far! If you don’t have the book and you’re a hexie lover like me, get a copy. Lots of projects to keep you busy. If you’ve never made a hexagon and want to learn, we have a tutorial found here. I just know that you’ll have Hexie love too!


